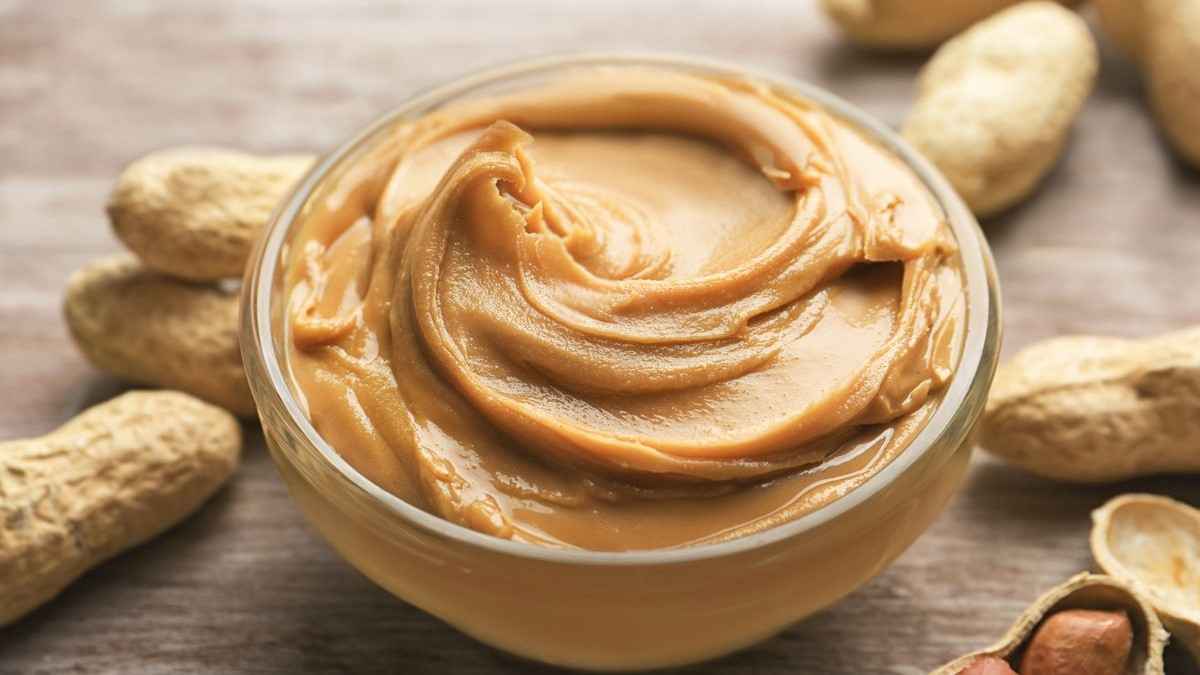
The Role of Climate in the Quality of Iranian Spices and Nuts

The Connection Between Dried Fruits and Gut Health
A Step-by-Step Guide to Homemade Nut Butter Using Iranian Nuts
Making your nut butter at home is not only easy, but it also allows you to control the quality of ingredients and customize the flavor to your liking. Iranian nuts, such as pistachios, almonds, walnuts, and hazelnuts, are renowned for their rich taste and high quality, making them the perfect base for delicious homemade nut butter. Whether you prefer a smooth and creamy texture or a crunchy blend, this guide will walk you through creating your Iranian-inspired nut butter.
Here’s a step-by-step guide to making nut butter using some of the finest Iranian nuts.
Step 1: Choose Your Nuts
The first step is selecting the type of nuts you want to use. You can choose a single variety for a classic flavor, or mix different nuts for a more complex taste.
Popular Iranian Nuts for Nut Butter:
- Pistachios: Known for their vibrant green color and slightly sweet flavor, pistachio butter is luxurious and creamy. Iranian Kerman or Rafsanjan pistachios are ideal choices.
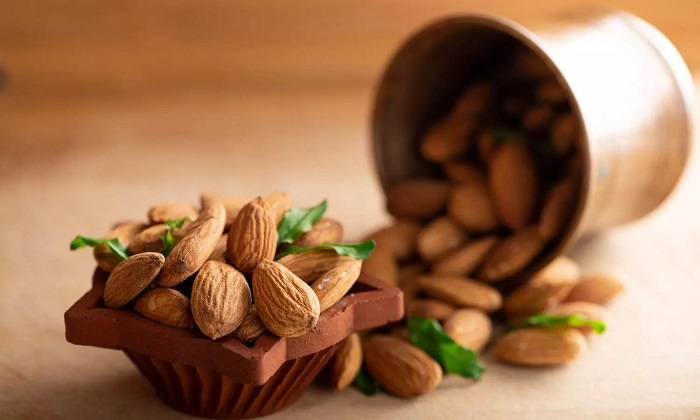
- Almonds: Iranian Mamra almonds are known for their richness and are perfect for making almond butter with a slightly sweet and nutty taste.
- Walnuts: Walnut butter has a rich, earthy flavor and is packed with omega-3 fatty acids.
- Hazelnuts: Hazelnuts make a deliciously sweet and smooth hazelnut butter, and when combined with cocoa, it creates a chocolate hazelnut spread.
- Mixed Nuts: For a unique flavor, you can mix different nuts, like pistachios, almonds, and walnuts, for a multi-nut butter blend.

Hazelnuts (Fandogh)
Quantity:
- Use 2-3 cups of your chosen nuts for a small batch of nut butter. This amount will yield approximately 1 to 1½ cups of nut butter.
Step 2: Roast the Nuts
Roasting your nuts is an optional but highly recommended step, as it helps release their natural oils and enhances the flavor of your nut butter. Roasted nuts produce a richer and more aromatic nut butter than raw nuts.
How to Roast the Nuts:
- Preheat your oven to 350°F (175°C).
- Spread the nuts in an even layer on a baking sheet.
- Roast the nuts in the oven for about 8-12 minutes, stirring halfway through to ensure even roasting.
- Pistachios: Roast for 7-10 minutes.
- Almonds and walnuts: Roast for 10-12 minutes.
- Hazelnuts: Roast for 10 minutes, then rub off the skins in a kitchen towel for a smoother texture.
- Allow the nuts to cool completely before moving to the next step.
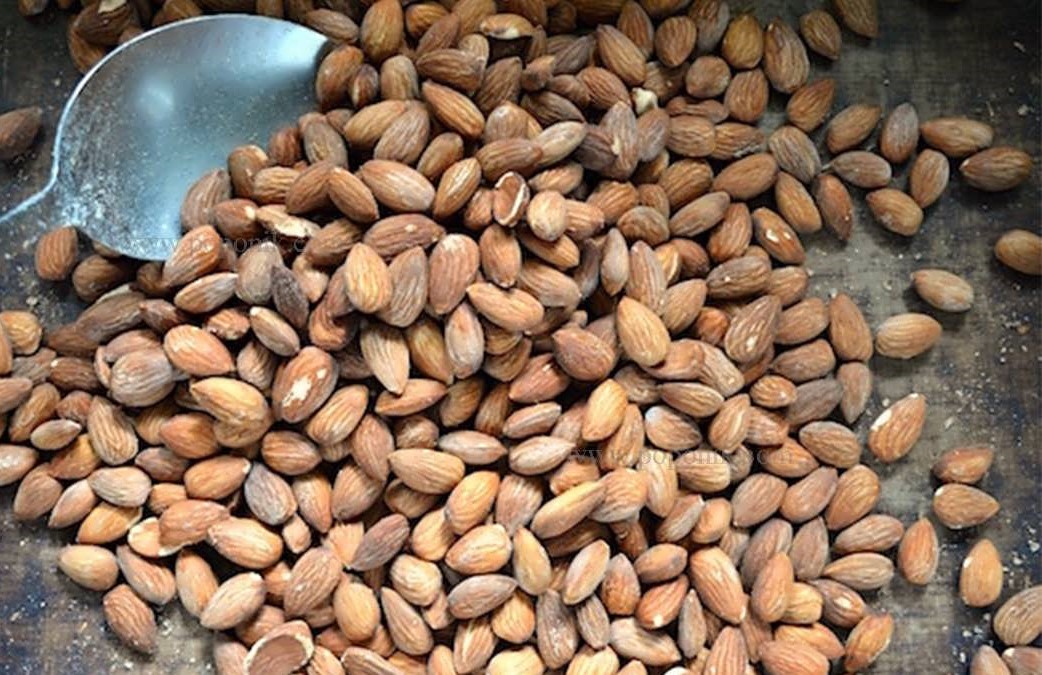
Roast the Nuts
Step 3: Blend the Nuts
Once your nuts have cooled, it’s time to blend them into butter. You will need a high-speed blender or food processor for this step.
Blending Instructions:
- Place the roasted (or raw, if preferred) nuts into the bowl of your food processor or blender.
- Blend the nuts for 5-10 minutes, depending on the power of your machine and the type of nut.
- Start by pulsing the nuts until they are broken down into crumbs.
- Continue blending, pausing occasionally to scrape down the sides, as the nuts go from a powder to a thick paste and eventually a smooth butter.
- Be patient! The nuts will release their natural oils as they blend, transforming them into a creamy butter.
Tips:
- Patience is key: Depending on your machine, it may take several minutes of continuous blending for the nuts to release their oils and turn into smooth butter.
- If the mixture seems too dry after several minutes, add a small amount of oil (such as neutral or nut oil) to help achieve a creamier consistency. Start with 1 teaspoon and add more if necessary.
Step 4: Customize Your Nut Butter
Once your nut butter is smooth, you can customize it with additional flavors, sweeteners, or spices to suit your taste.
Flavoring Options:
- Sweeteners: Add honey, maple syrup, or agave to naturally sweeten your nut butter (start with 1-2 teaspoons).
- Spices: Add a pinch of salt, cinnamon, or cardamom for an Iranian flavor twist.
- Vanilla: Add 1 teaspoon of vanilla extract for extra sweetness and depth.
- Chocolate: For a chocolate version, mix in 1-2 tablespoons of melted dark chocolate or cocoa powder for a chocolate pistachio or hazelnut spread.
- Texture: If you prefer chunky nut butter, reserve a handful of nuts and chop them finely, then stir them into the smooth butter at the end.
Step 5: Store Your Nut Butter
Once your nut butter is blended to the desired consistency and flavored to your liking, it’s time to store it.
Storage Instructions:
- Transfer the nut butter to a clean, airtight jar or container.
- Store the nut butter in the refrigerator to keep it fresh. Homemade nut butter can last up to 2-3 weeks in the fridge.
- Stir the nut butter before using if the oils separate during storage.
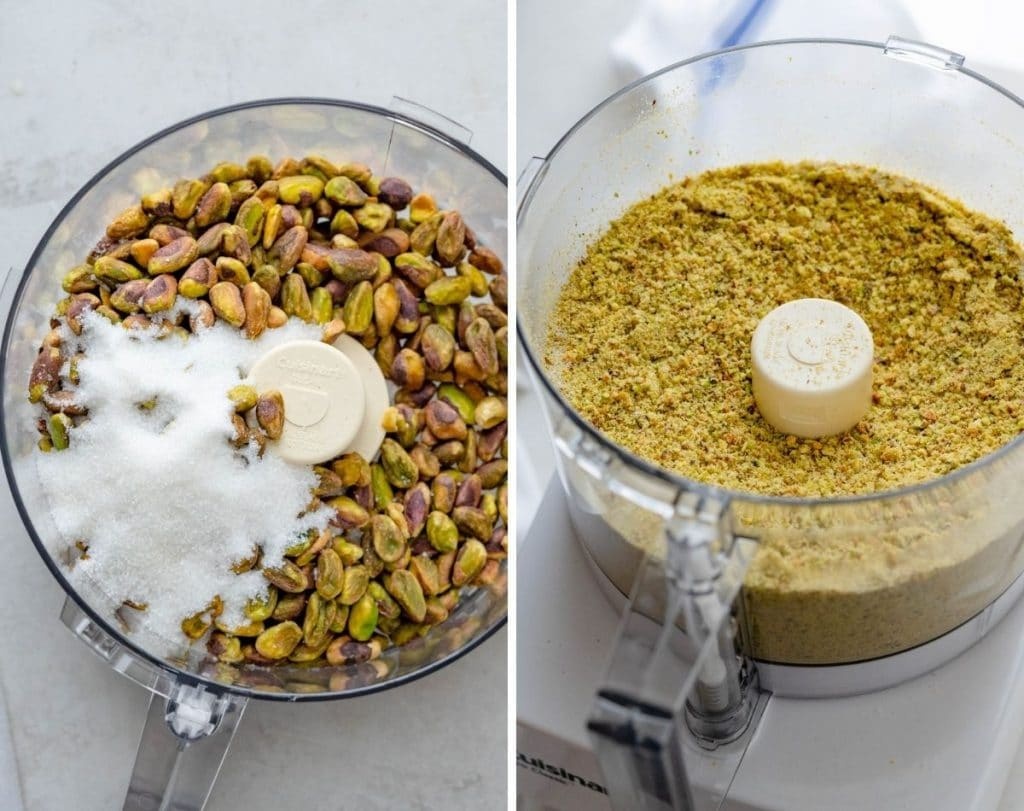
Store Your Nut Butter
Step 6: Enjoy Your Homemade Iranian Nut Butter
Now that you’ve made your delicious Iranian-inspired nut butter, it’s time to enjoy it! Nut butter is incredibly versatile and can be used in a variety of ways:
Ideas for Using Nut Butter:
- Spread on toast, bread, or lavash for a quick and satisfying snack.
- Dip fruits like apples, pears, or bananas into the nut butter for a healthy treat.
- Blend into smoothies for added richness and protein.
- Drizzle over yogurt, oatmeal, or smoothie bowls for extra flavor.
- Use as a base for baking cookies, cakes, or energy bars.
- Pair with dried fruits like dates, figs, or apricots for a classic Persian snack.
Conclusion
Making your Iranian nut butter at home is a rewarding and delicious process that allows you to enjoy the rich flavors of pistachios, almonds, walnuts, and hazelnuts in their freshest form. Whether you choose to make classic pistachio butter, creamy almond butter, or flavorful walnut butter, this guide helps you customize the recipe to suit your taste. With just a few simple steps, you can create a versatile and nutritious homemade nut butter that can be enjoyed on its own or used in a variety of recipes.

